Mastering the Art of Herbal Tincture Preparation 🌿
Mastering the Art of Herbal Tincture Preparation
Are you interested in harnessing the power of herbs to enhance your health and well-being? Creating your own herbal tinctures is a wonderful way to unlock the potential of nature's remedies. In this step-by-step guide, we will walk you through the process of preparing herbal tinctures, from choosing the right herb to bottling the final product.
Step 1: Choose Your Herb
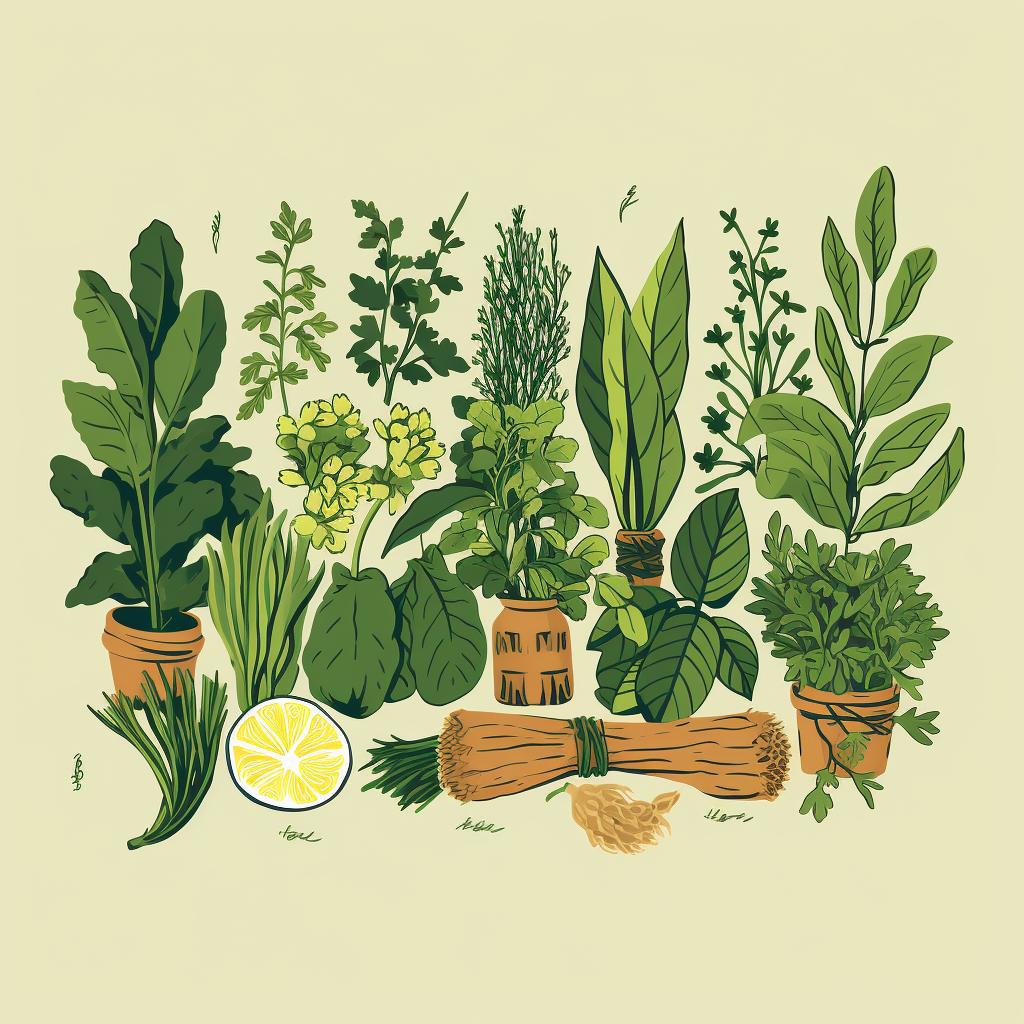
The first step in creating a herbal tincture is selecting the herb that aligns with your needs. Whether you're seeking a calming effect with chamomile or an invigorating boost from ginseng, ensure that the herb is clean and free from any impurities. Remember, each herb possesses unique properties, so choose wisely.
Step 2: Prepare Your Jar
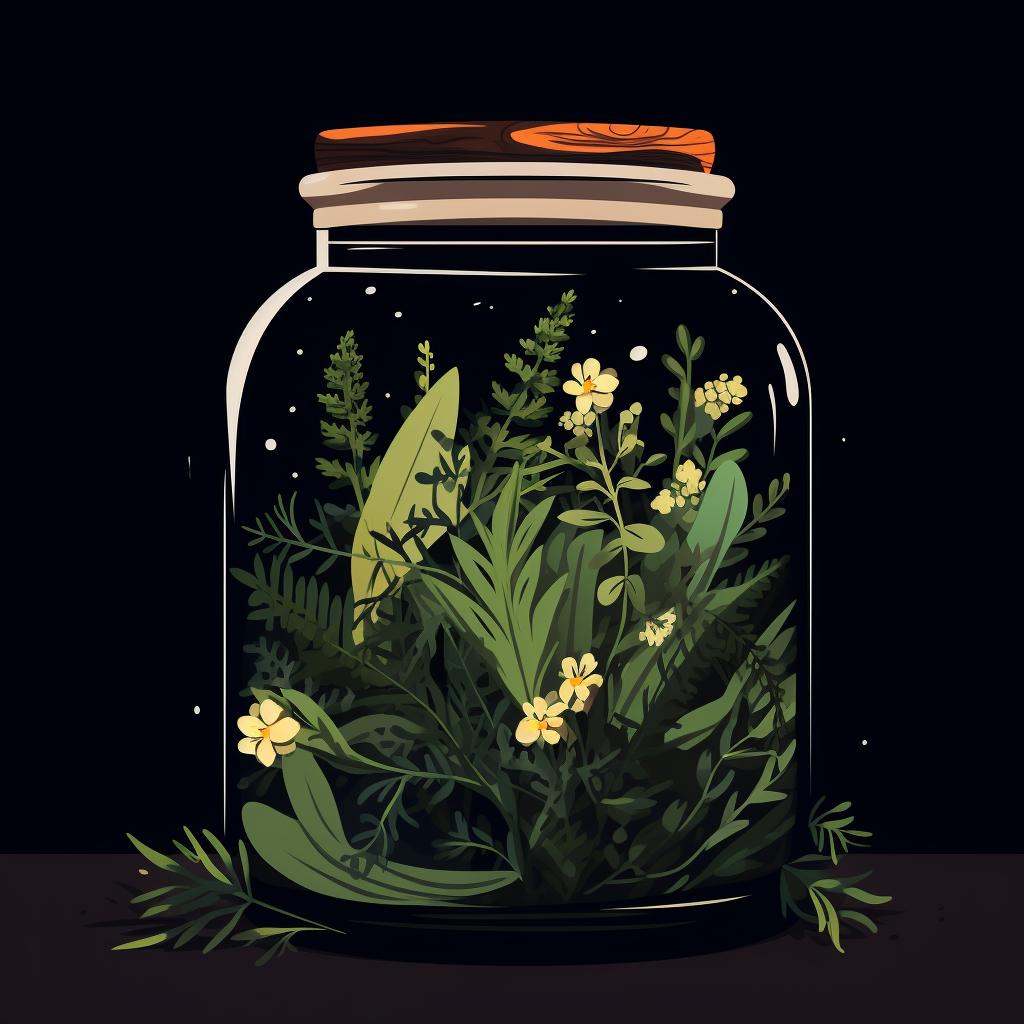
Once you have chosen your herb, it's time to find a clean, dry glass jar with a tight-fitting lid. The size of the jar will depend on the amount of tincture you wish to make, but a pint or quart mason jar is often suitable. A clean jar ensures that your tincture remains uncontaminated and potent.
Step 3: Fill the Jar with Herbs
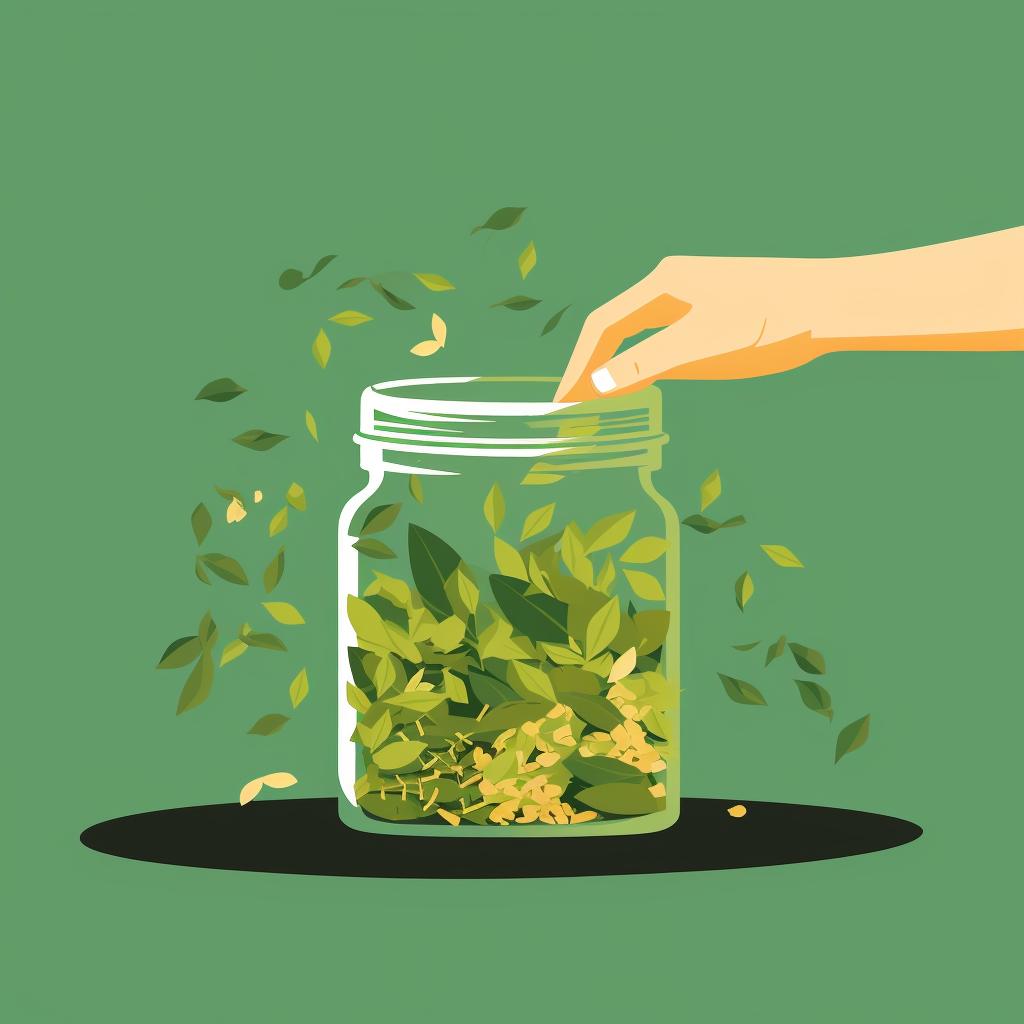
Next, fill the jar about half to three-quarters full with your selected herb. If you're using fresh herbs, consider chopping them up a bit to release their oils. This step allows the herb to infuse with the solvent, enhancing the extraction process.
Step 4: Add Your Solvent
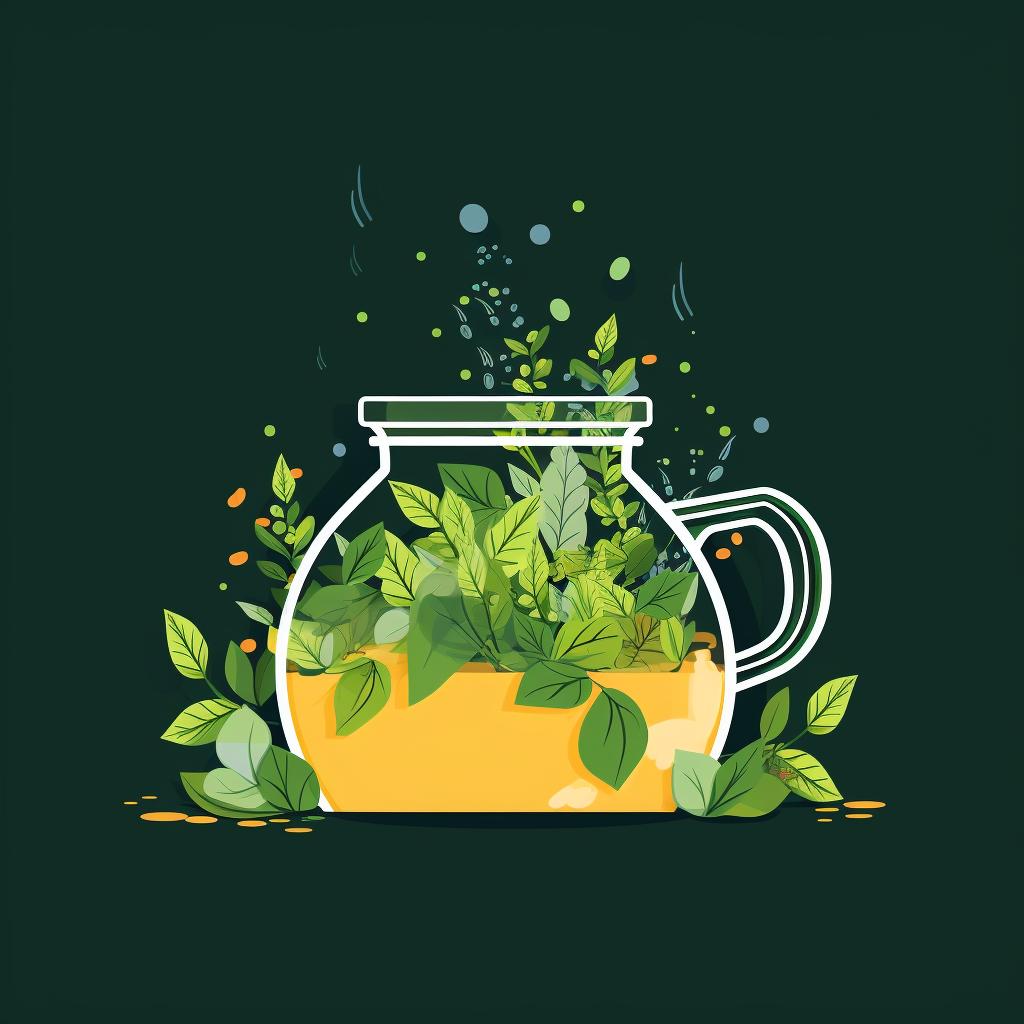
Pour a solvent over the herbs until they are completely covered. The most common solvent used in tincture preparation is high-proof alcohol. However, if you prefer an alcohol-free option, vinegar or glycerin can also be used. The solvent acts as a medium to extract the beneficial compounds from the herbs.
Step 5: Seal and Store
Seal your jar tightly with the lid and store it in a cool, dark place. It is essential to shake the jar once a day for at least six weeks. This shaking process helps the solvent extract the valuable compounds from the herbs, ensuring a potent tincture. Be patient during this period, as the magic of extraction takes time.
Step 6: Strain and Bottle
After six weeks, it's time to strain the mixture through a cheesecloth, squeezing out as much liquid as possible. Discard the herbs and carefully pour the tincture into dark glass bottles for storage. The dark glass protects the tincture from light, maintaining its potency. Congratulations, your herbal tincture is now ready to be used!
Creating your own herbal tinctures is a rewarding and empowering experience. By following these simple steps, you can unlock the healing potential of herbs and incorporate them into your wellness routine. Remember to research the properties and potential interactions of each herb before use, and consult with a healthcare professional if needed. Start your herbal journey today and discover the wonders of natural remedies.
Local Witch Doctor: Your ultimate guide to herbalism and natural remedies. Discover the benefits of herbs, learn how to use tinctures, and find the best herbal recipes.

